How to Import & Use Lightroom Profiles - Luxe LUTs
FollowLUTs are a powerful, flexible color-grading option for editing video and photos! These unique tools are one of our most versatile offerings with a variety of file types available depending on your unique editing needs and owned software! If you only need these for one thing or only plan on using them in one specific software, you’ll only need to select and download the files in one format.
This guide focused on installing & using your new Luxe LUTs as Profiles for Lightroom, Lightroom Classic, and Photoshop! This is a quick process, but broken down into bite-sized steps!
This format allows you to import LUTs as hover-to-preview, click-to-apply Profiles in subscription versions of Lightroom & Photoshop!
Lightroom Profiles are offered in XMP format like presets. Profiles determine how your camera's sensor data is interpreted and displayed, affecting the contrast, saturation, and tone of a photo by applying a specific look. They are different from presets because they alter the raw file's interpretation without changing individual slider settings. Profiles provide different looks depending on the image's content and can be selected from the "Profile" section in the development mode's Basic panel. Our Profiles can be used in tandem with Global and AI Adaptive Presets & Tools to create unique looks.
Jump to the Install Guide for:
Lightroom | Lightroom Classic | Photoshop | Lightroom Mobile (Android & iOS*)
*Direct import of profiles is not yet available for iOS.
➤Download Your Files for Desktop
Select the XMP FILES option from your download link under “Additional Software Options for Photo Editing”:

And click to download the available file(s):
If you purchased a single collection of LUTs you'll only see one file for each format. If you purchased the LUTs bundle, you'll see a download for each included collection.
Once you have downloaded all available LR Profile files in .zip format, you should find them in your “Downloads”:
We recommend making a copy of your files to a cloud storage drive or external hard drive!
You do NOT need to open or unzip your downloads. Simply launch your software & import whole.
If you DO unzip, you can select all the individual XMP files at import for LR & LRC, but ACR requires WHOLE ZIP import ONLY!
MAC Users Note: If Safari is unzipping your files at download, you can change this in Safari before trying your downloads again:
- Open Safari
- Click Safari in the menu at the top of your screen
- Click Settings or Preferences
- Uncheck the checkbox next to Open “safe” files after downloading at the bottom of the "General" options.
- Download your files once more!
➤ Lightroom (CC)
Open Lightroom (CC), and navigate to Profiles. Under Edit, select the profile browser icon to open Profiles.
Select “...” to open the profiles menu & select “Import Profiles...”
Select downloaded XMP .zip file(s) and click “Import”:
Select the little > Icon next to the collection folder to view newly installed profiles:
Hover to preview, click to apply! Adjust strength with amount slider! You can use alone to color grade images, apply after a global preset or on top of any combination of AI Adaptive presets!
➤ Lightroom Classic
Open Lightroom Classic, navigate to the develop tab, and locate your profile browser above the “Basic” panel.
Select “+” to open the profiles menu & select “Import Profiles...”
Select downloaded XMP .zip file(s) and click “Import”:
Select the little ▶ Icon next to the collection folder to view newly installed profiles:
Hover to preview, click to apply! Adjust strength with amount slider! You can use alone to color grade images, apply after a global preset or on top of any combination of AI Adaptive presets!
➤ Photoshop
Open any image in Photoshop, and navigate to Filter > “Camera Raw Filter...”
Under Edit, select the little icon next to “Profile” with the little search icon on it to open the Profile Browser.
Click the “...” menu at the top of your Profile browser to open the profiles menu. Select “Import Profiles & Presets...”
Select a downloaded .zip for import. ACR only allows the import of one collection at a time. These must be in .zip format:
Select the little arrow Icon next to the collection folder title to expand folder & view newly installed profiles:
Hover to preview, click to apply! Adjust strength with amount slider! You can use alone to color grade images, apply after a global preset or on top of any combination of AI Adaptive presets:
➤ Lightroom Mobile (Android & iOS*)
*Important note for iOS users: Unfortunately, Adobe has not designed the Lightroom app on iOS and iPadOS to support direct import of profiles via “Import Profiles”.
However, you can sync profiles to Lightroom on your iPhone or iPad if you import them on a device with the “Import Profiles” option.
This includes: Subscription Lightroom (CC) for a Windows or Mac computer (even the trial subscription) and the premium Lightroom mobile app on an android device.
As long as you are logged into the same Adobe account any successfully imported profiles will automatically sync to Lightroom on your Apple mobile devices.
You will receive a "Download Your Purchase" link via email. Press & hold that link until you see the option to "Copy URL". Then open the Chrome browser app. Press & hold the URL bar until you see the option to "Paste" then press "Go" on your keyboard:
Locate the “XMP FILES” folder under the “Additional Software Options” folder at your download link. Inside, click to download your Lightroom profiles.
Do not click on your download from notifications. Do not open or unzip. Immediately open Lightroom and select any image to edit. Click Edit on the bottom toolbar and Swipe to “Profiles”
Click the “...” on the top right, select “Import Presets” & search your files for the “Profiles” you downloaded using the little magnifying glass icon or looking under "downloads". Select the .zip to import.
Click to preview, ✓ to apply! Click the profile thumbnail to adjust edit strength ( ✓ to apply). You can use alone to color grade images, apply after a global preset or on top of any combination of AI Adaptive presets!
Ways to Use
➤Standalone
You can apply a profile to an unedited image, or an image with "basic" adjustments to white balance and exposure.
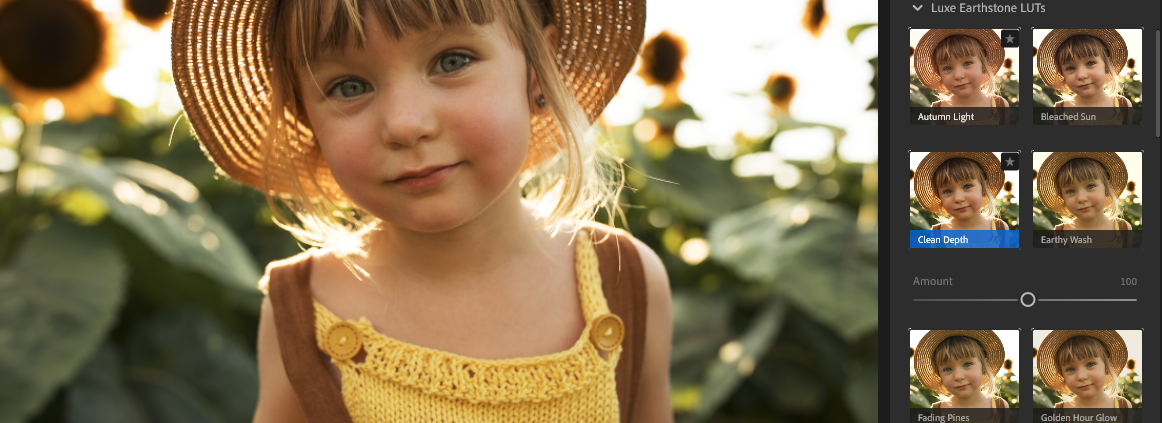
➤Preset + Profile
You can also use profiles to create another layer of stylization and depth in combo with favorite presets. Informs the software how to interpret and display your RAW sensor data in a way that makes it easier to standardize a varied set of images.
Apply a global preset first, as many presets contain predetermined profiles:
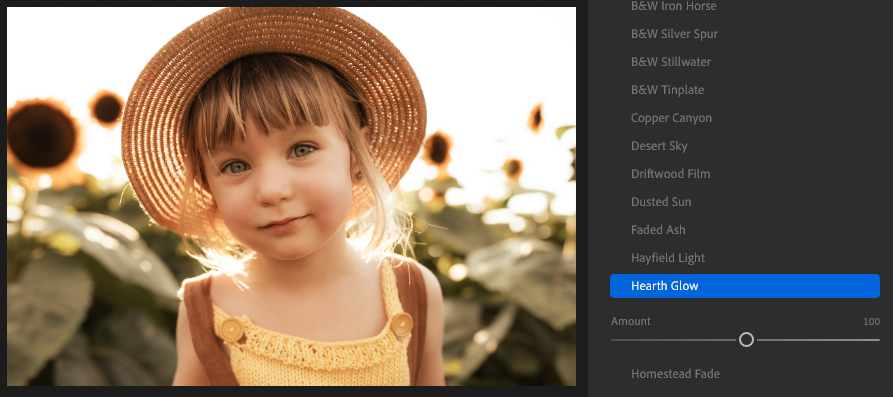
Then head over to Profiles and make your selection:
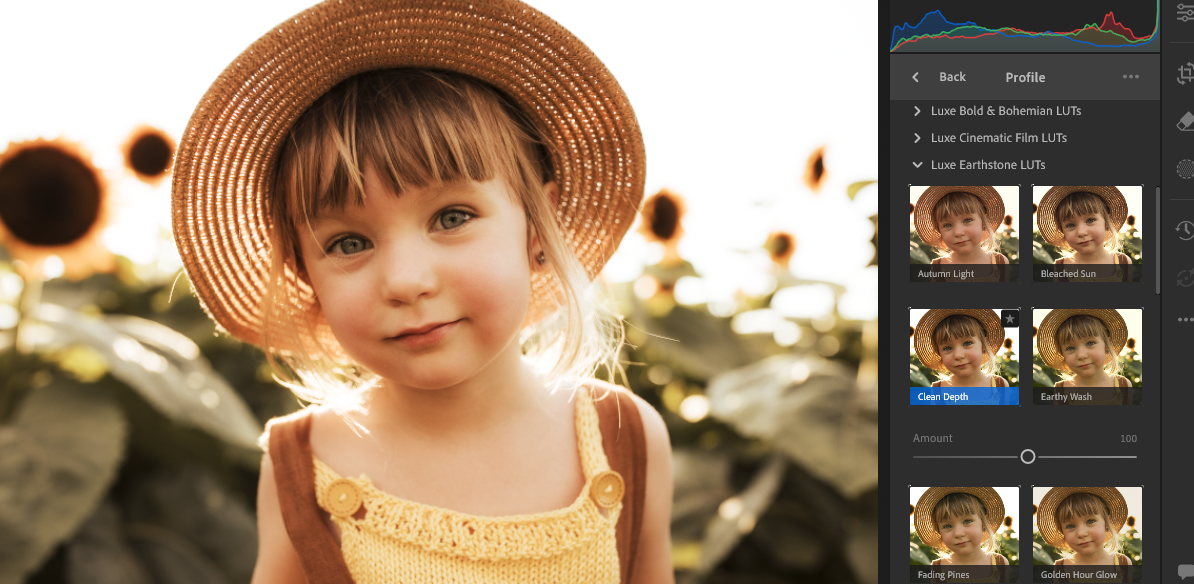
➤Profile + AI Presets
We especially like using profiles to globally color grade images when used in combo with AI Adaptive presets to craft multi-layered dynamic edits.
With AI Adaptive presets, you can apply the profile before or after you apply any combo of AI presets and change it at any time. When using a profile to as a base for edit, we would recommend applying the profile first, and then applying any combination of AI Adaptive tools to coordinate your localized changes to the overall look:
Using LUTs as profiles to color grade your images allows you more control in creating a cohesive body of work. As our most versatile product, you can edit your video with the CUBE format LUTs in your favorite video editing software, and then jump over to your photo-editor and use these same looks as profiles and edit your stills to match! Love an edit and want to share it with us? Learn how you can share HERE!
Run into trouble? Reach out to our team at support@theluxelens.com for 1:1 download, installation, and use support and custom workflow recommendations!